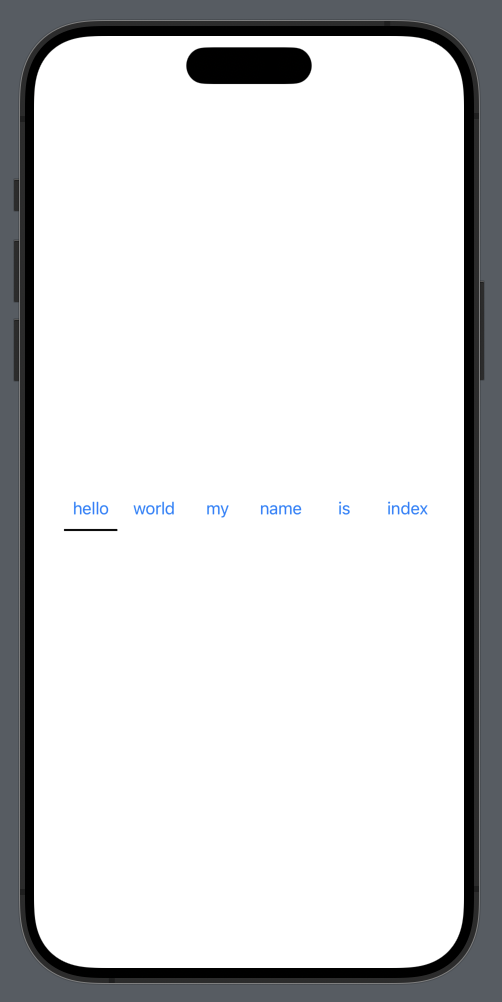
[SwiftUI] Animation 구현
SwiftUI에서 제공하는 애니메이션
import SwiftUI

// MARK: - 애니메이션
struct AnimationView: View {
    @State var currentTab: Int  // 현재 선택된 탭의 인덱스

    // MARK: - NAMESPACE
    @Namespace var namespace

    let text = ["hello", "world", "my", "name", "is", "index"]
    var body: some View {
        HStack(spacing: -50) {
            ForEach(text.indices, id: \.self) { index in
                let title = text[index]
                UnderBarItem(currentTab: $currentTab,
                             title: title,
                             tab: index,
                             namespace: namespace
                )
            }
        }
    }
}

struct UnderBarItem: View {
    @Binding var currentTab: Int    // 부모 뷰에서 전달받은 선택된 탭의 인덱스
    var title: String
    var tab: Int                    // 각 버튼이 고유하게 가지는 인덱스

    // MARK: - NAMESPACE
    let namespace: Namespace.ID

    var body: some View {
        Button {
            currentTab = tab        // SwuftUI는 currentTab변경을 감지하여 뷰를 다시 렌더링 한다
        } label: {
            VStack {
                Text(title)
                if currentTab == tab {  // 터치된 버튼이면 언더바 표시
                    Color.black
                        .frame(height: 2)
                        .padding(.horizontal, 30)
                        // MARK: - NAMESPACE
                        .matchedGeometryEffect(id: "underline", in: namespace.self)
                } else {
                    Color.clear
                        .frame(height: 2)
                        .padding(.horizontal, 30)
                }
            }
            // response: 애니메이션의 지속 시간.
            // dampingFraction: 감속의 강도 (0에 가까울수록 많이 진동).
            // blendDuration: 애니메이션이 다른 변경 사항과 섞이는 데 걸리는 시간.
            .animation(.spring(response: 0.5, dampingFraction: 0.7, blendDuration: 0.5), value: currentTab)
            //.animation(.spring(), value: currentTab)    // value가 변할 때 애니메이션 적용
        }
    }
}

#Preview {
    AnimationView(currentTab: 0)
}

위 코드와 이미지를 참고하여 SwiftUI에서 제공하는 애니메이션의 기본적인 사용법을 익혀보세요.
Leave a comment