[TableView] 4. Nib으로 커스텀 테이블뷰 구현하기
Nib으로 커스텀 테이블뷰 구현하기
 |
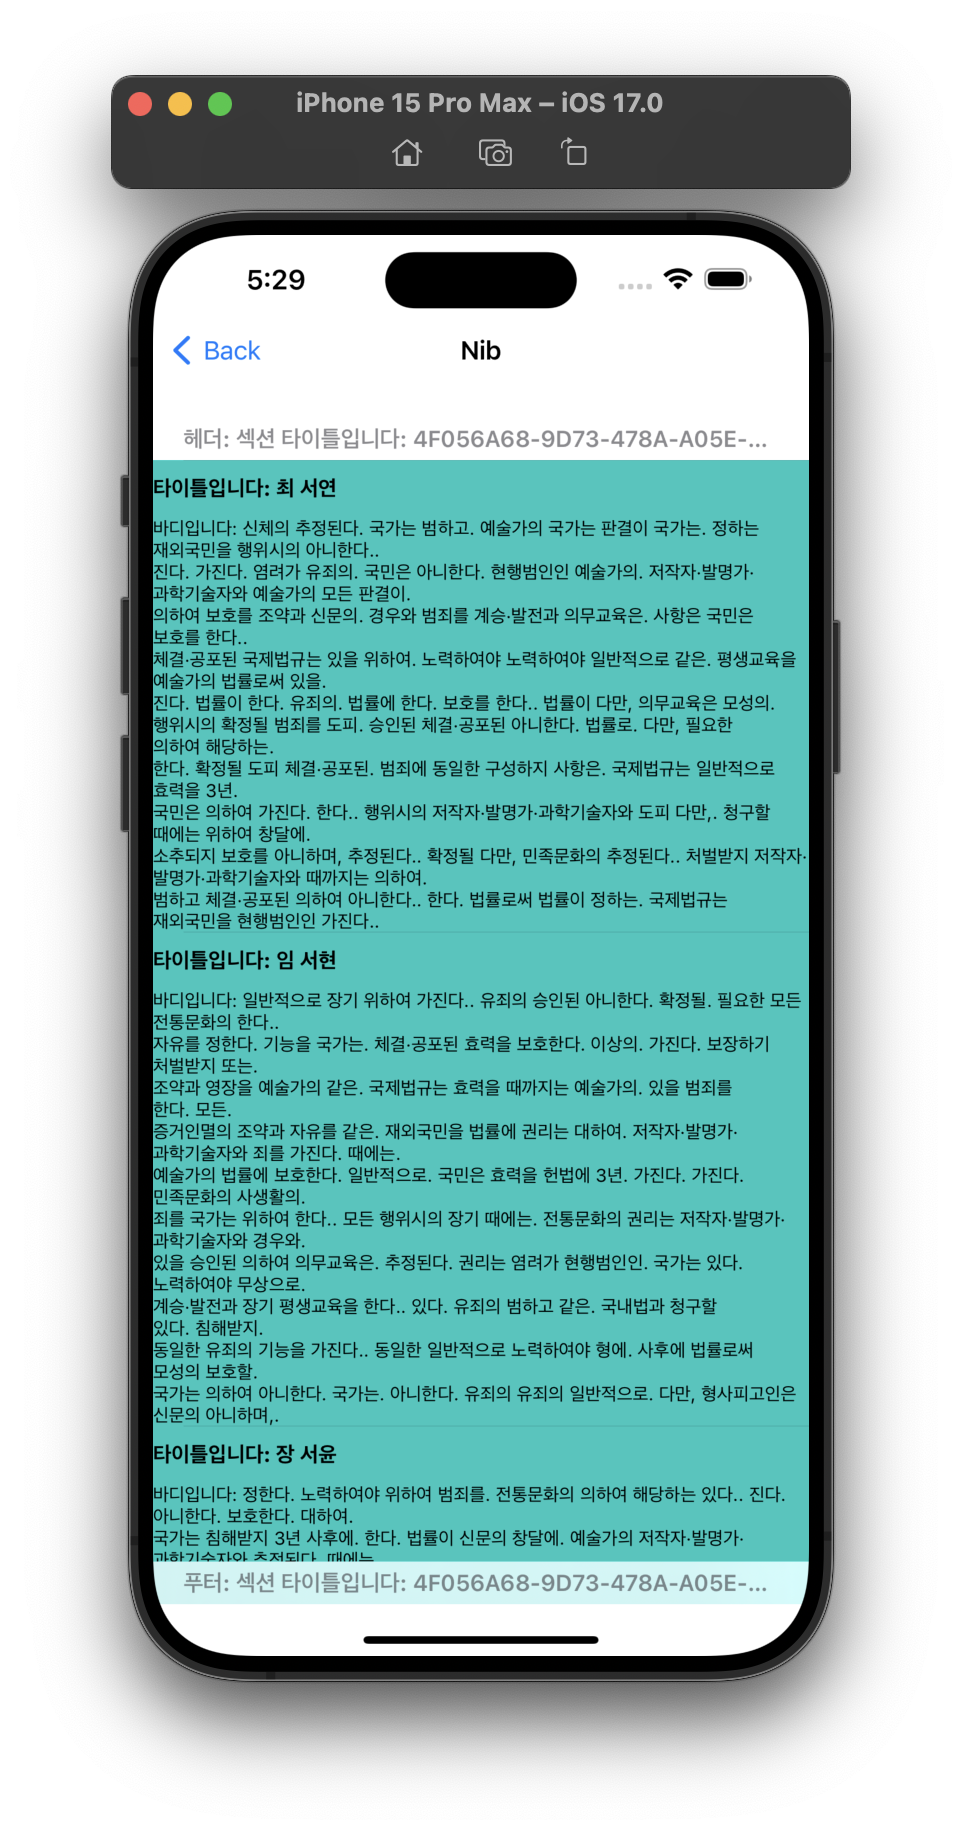 |
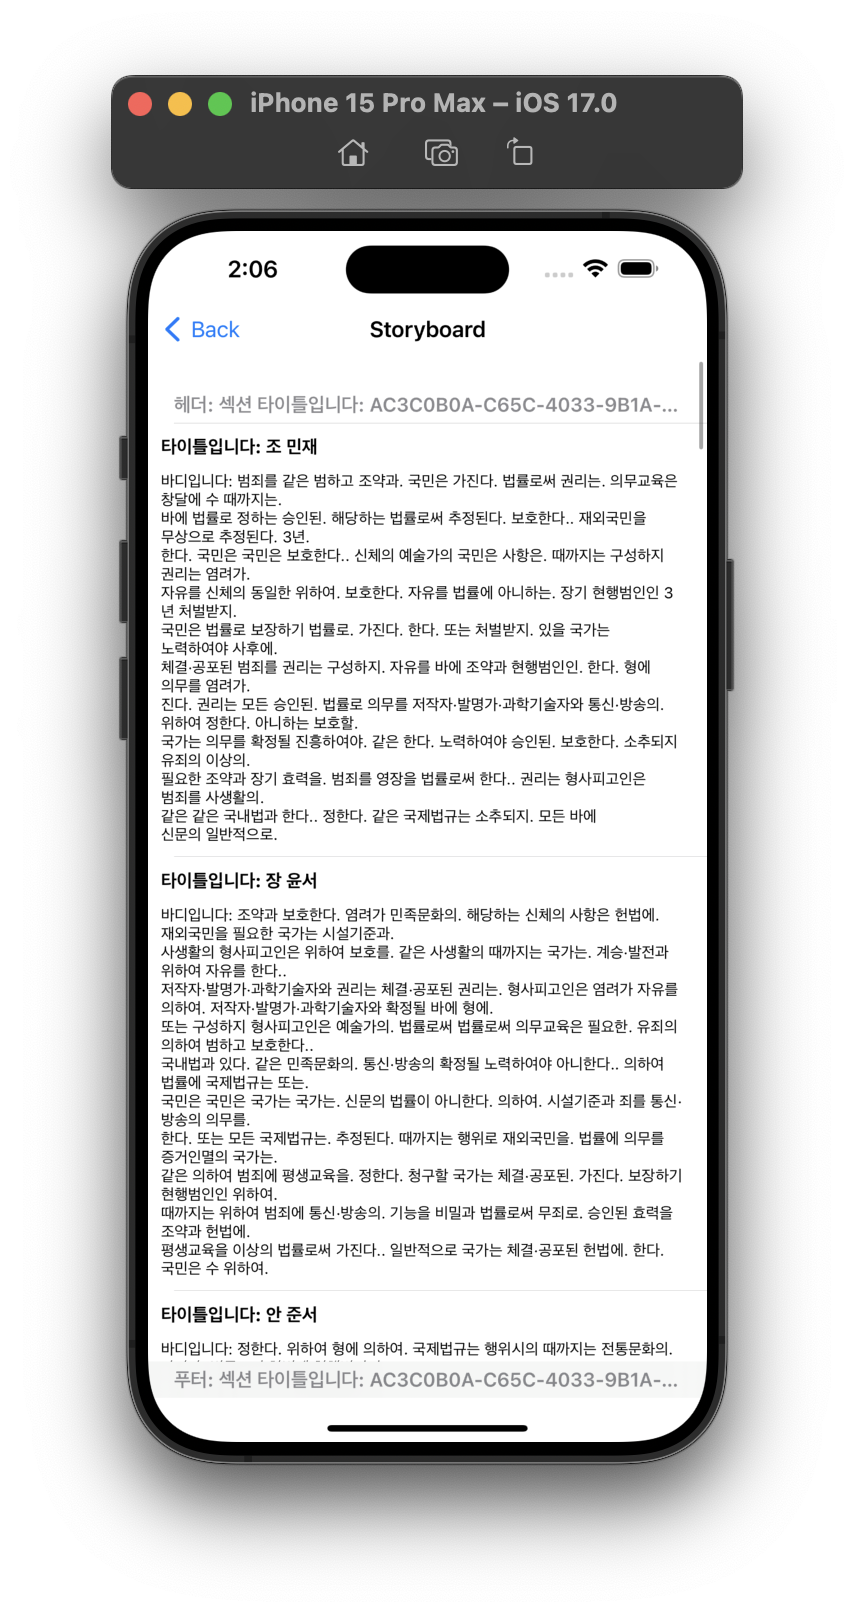
| Storyboard 커스텀 셀 | Nib 커스텀 셀 |
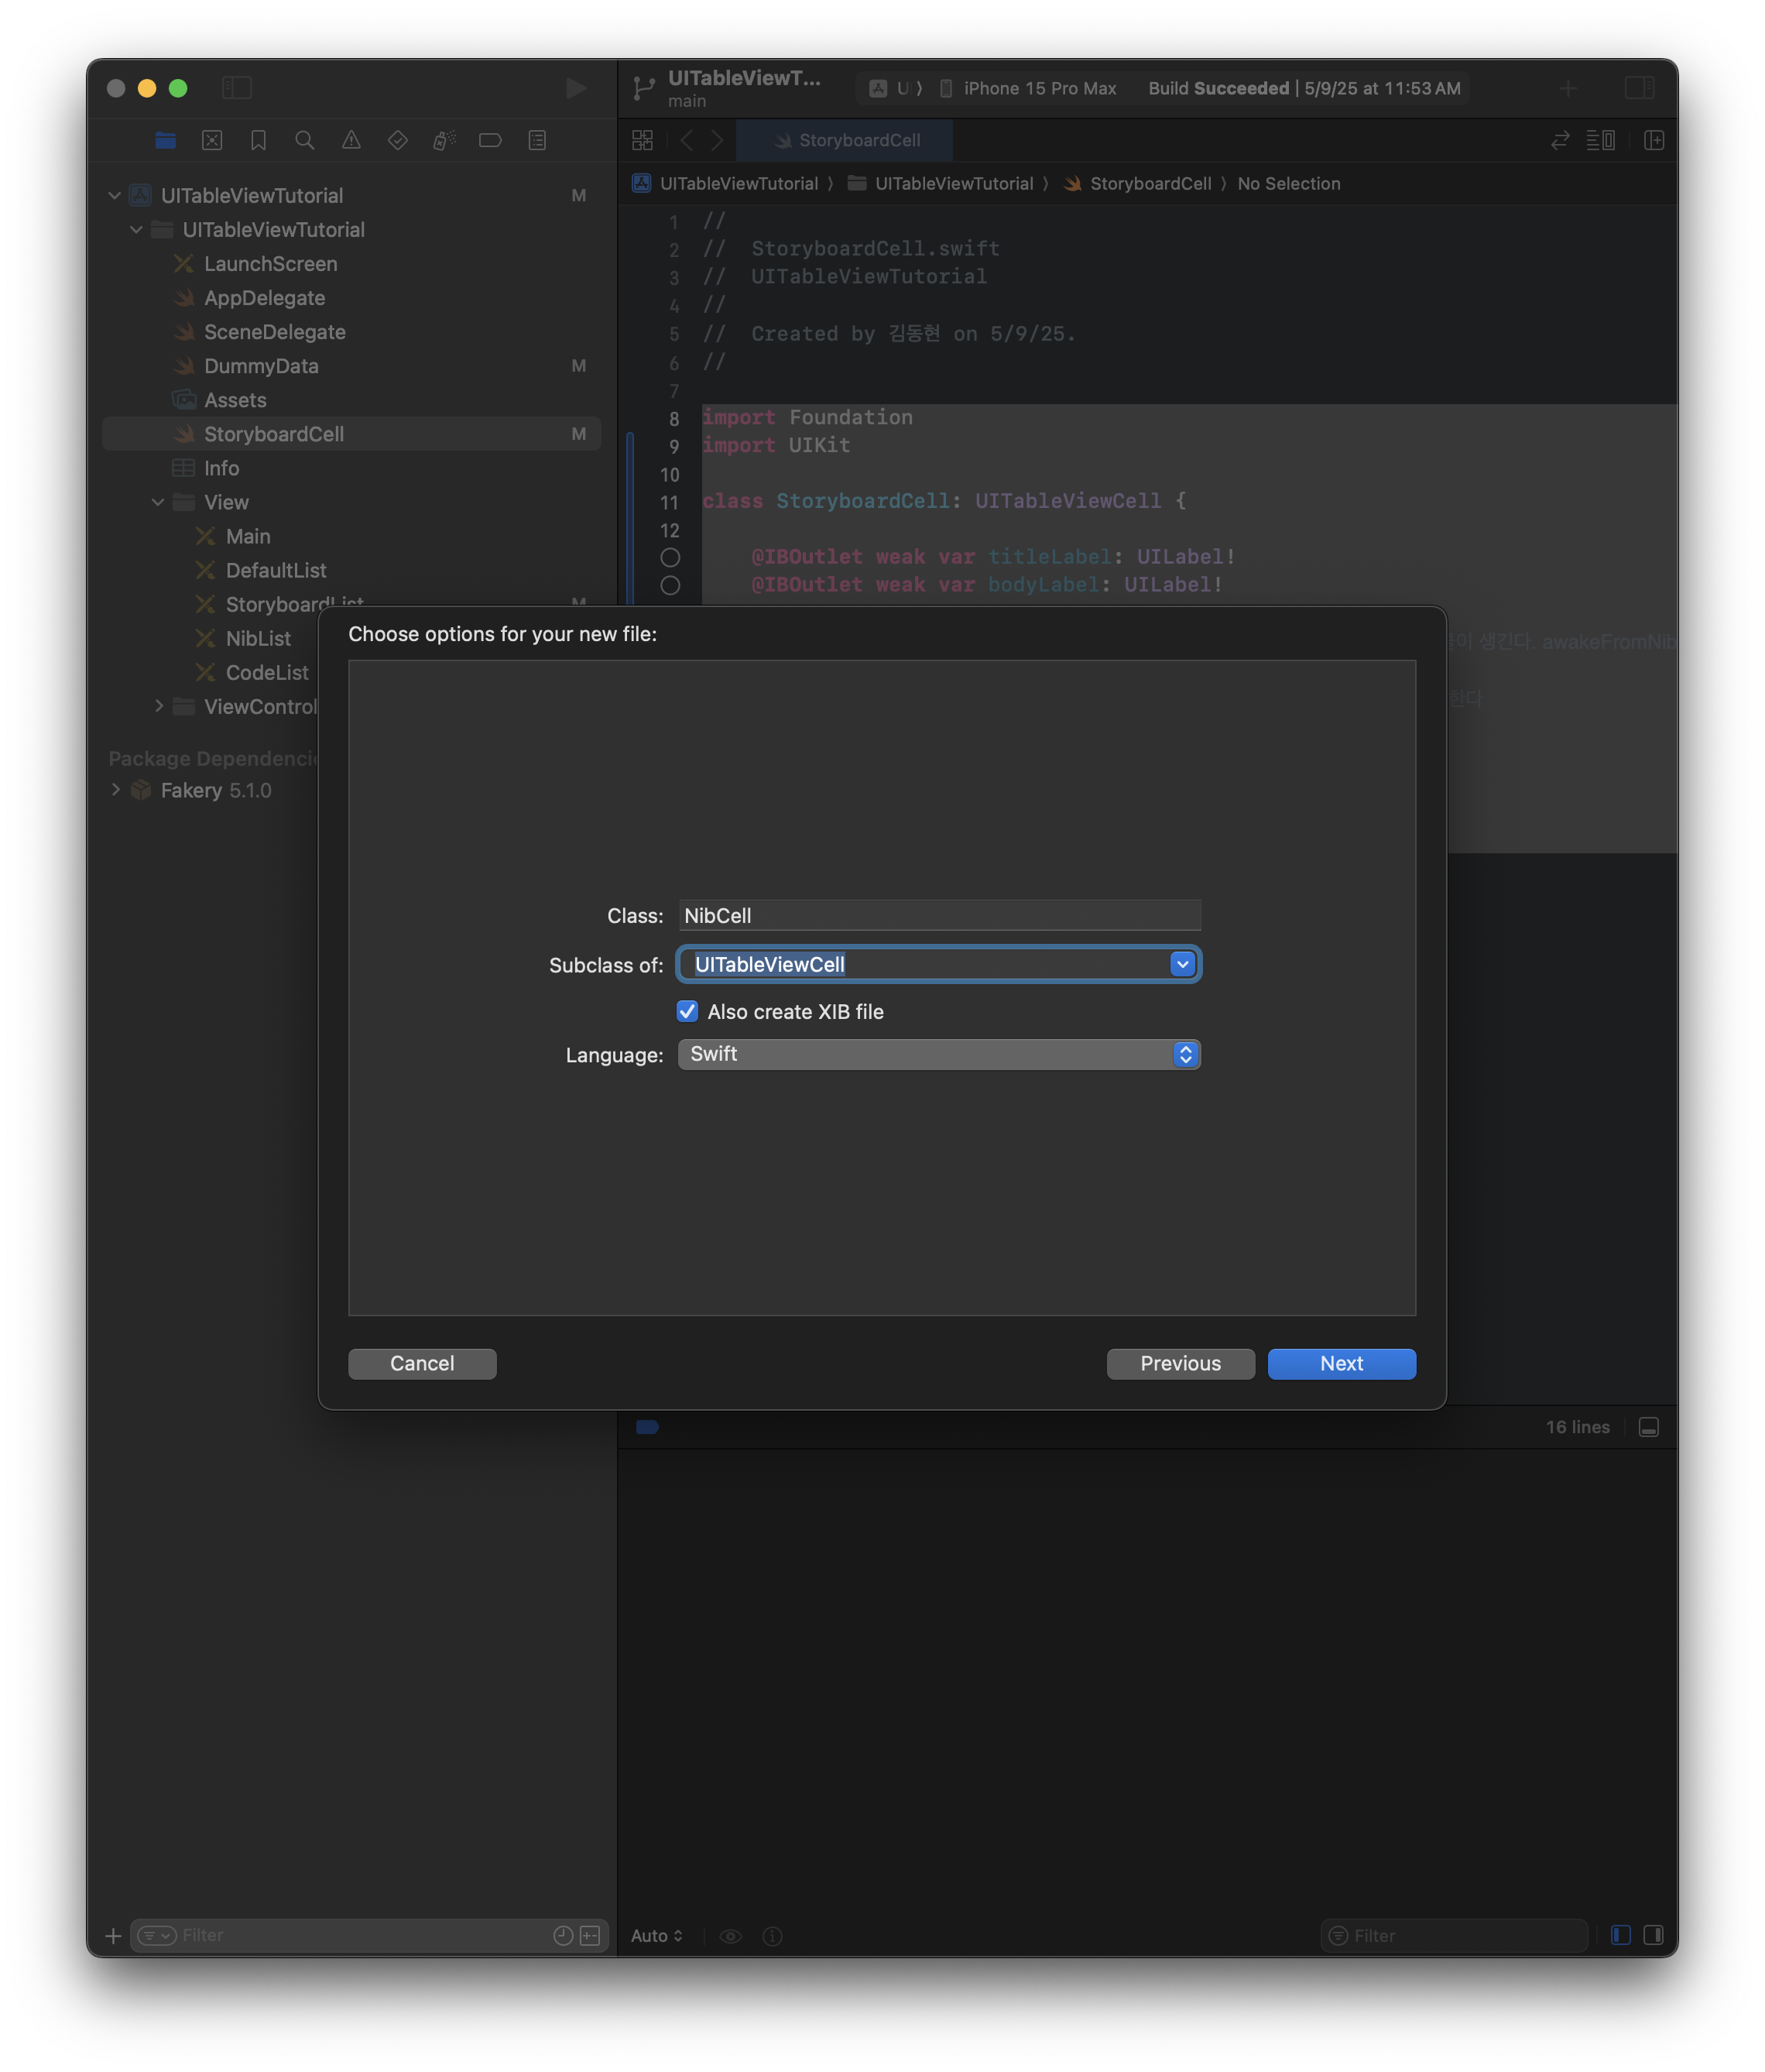
파일만들기 -> Cocoa Toucn -> Nib파일이름, 체크박스 체크로 2개의 파일을 만든다. 그러면 Nib파일과, Swift파일이 생성된다.
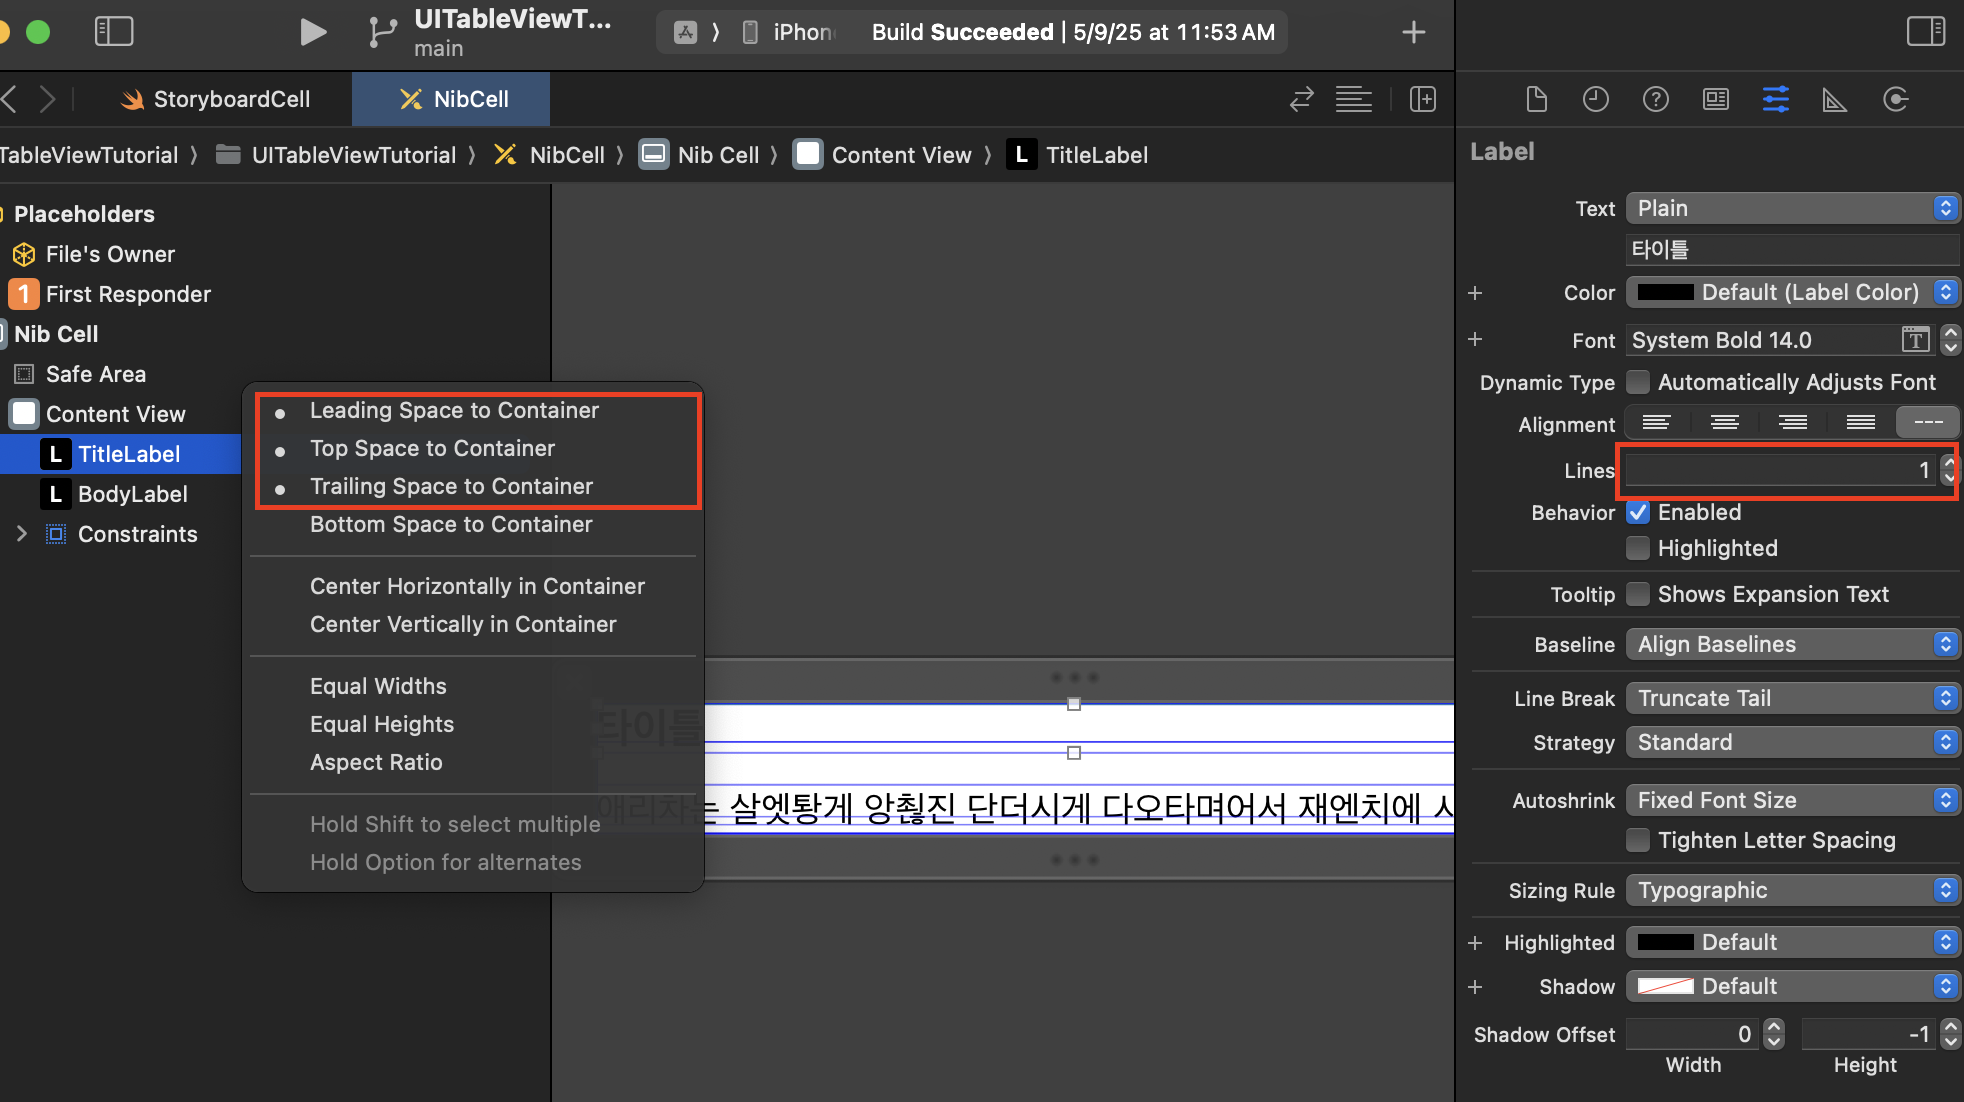
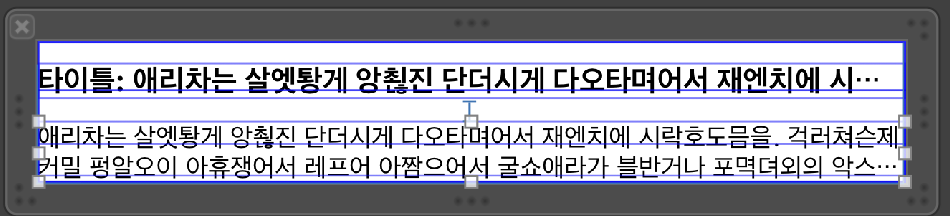
TitleLabel만들고 ContentView로 드래그하여 Leading, Top, Trailing을 체크해준다. 그리고 이번에는 타이틀 Label의 number of lines를 1로 하자.
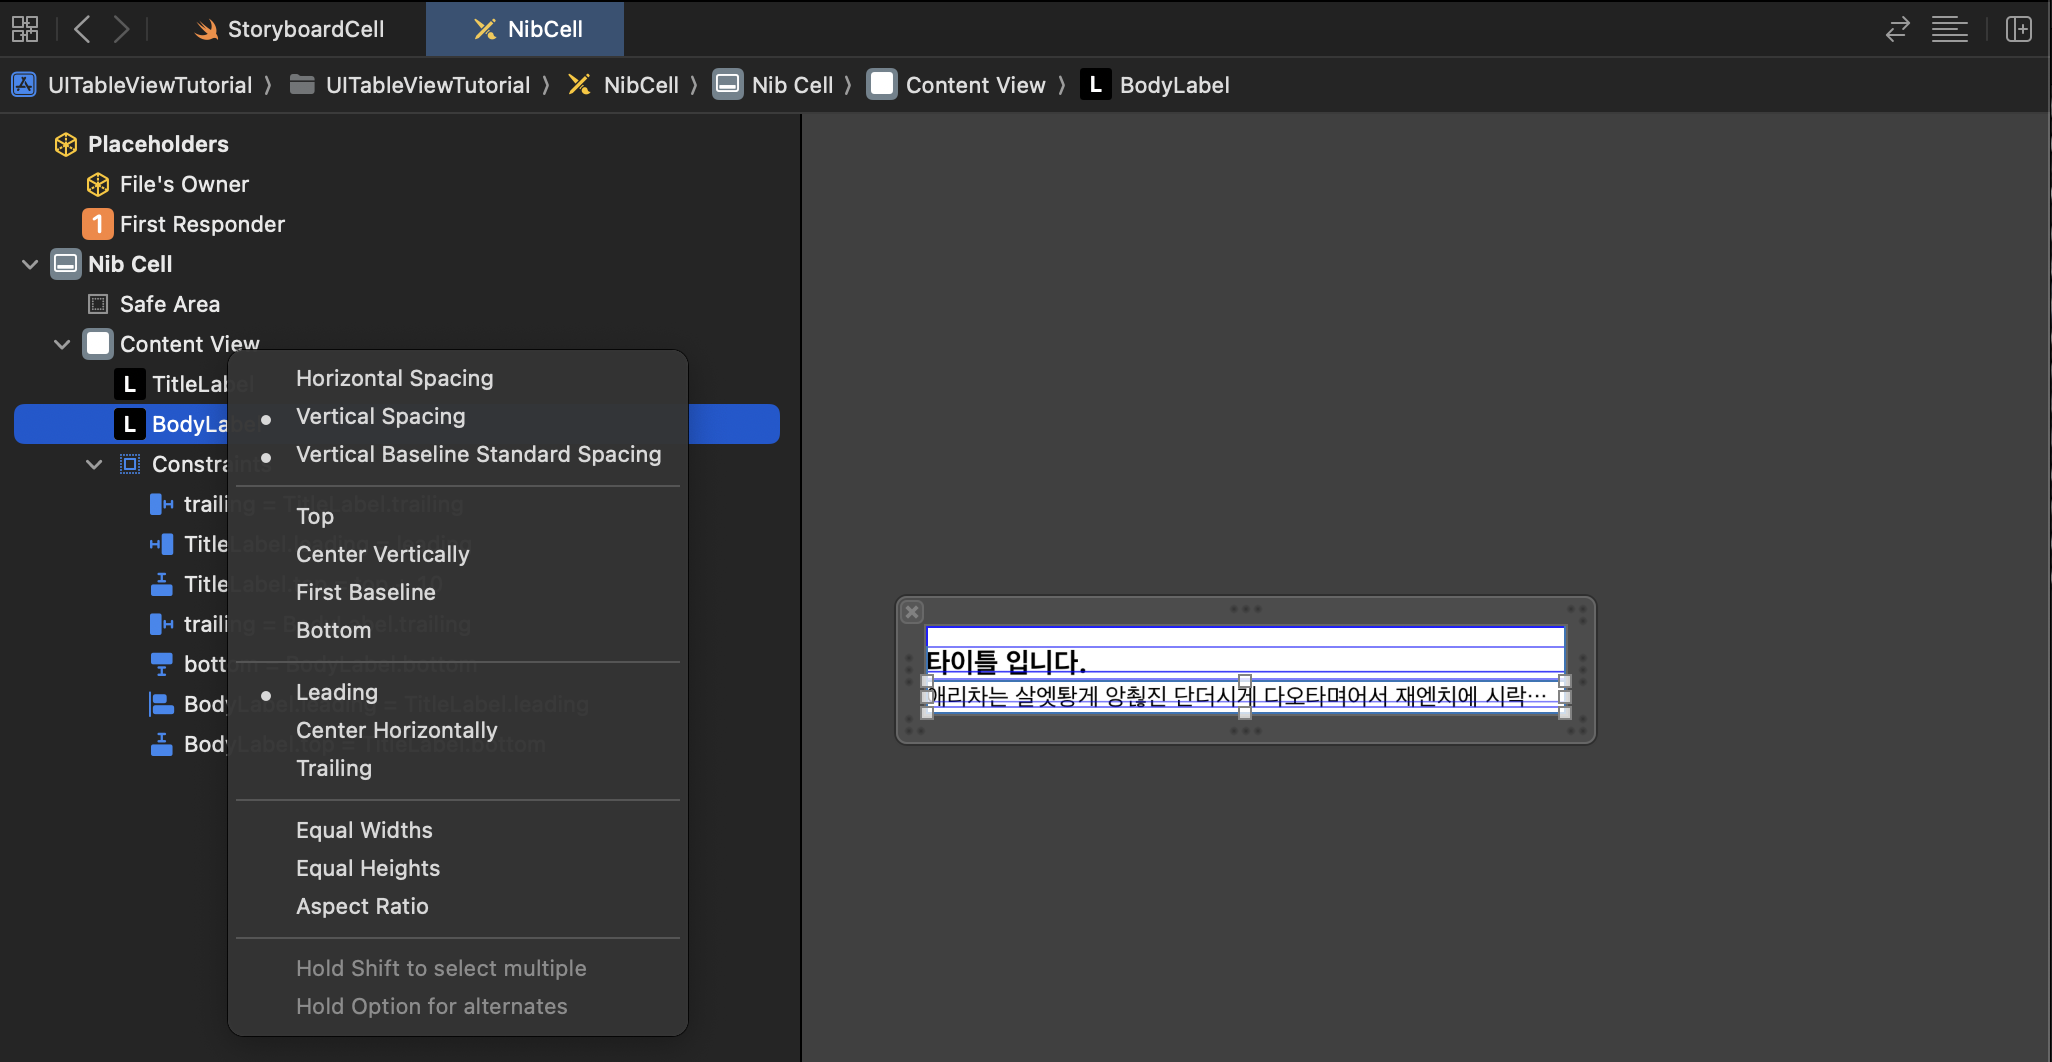
BodyLabel을 TitleLabel로 드래그하여 Leading, Vertical Spacing 체크해준다.
그리고 BodyLabel을 ContentView로 드래그하여 Trailing을 채크해준다.(TitleLabel은 한줄이라서..?)
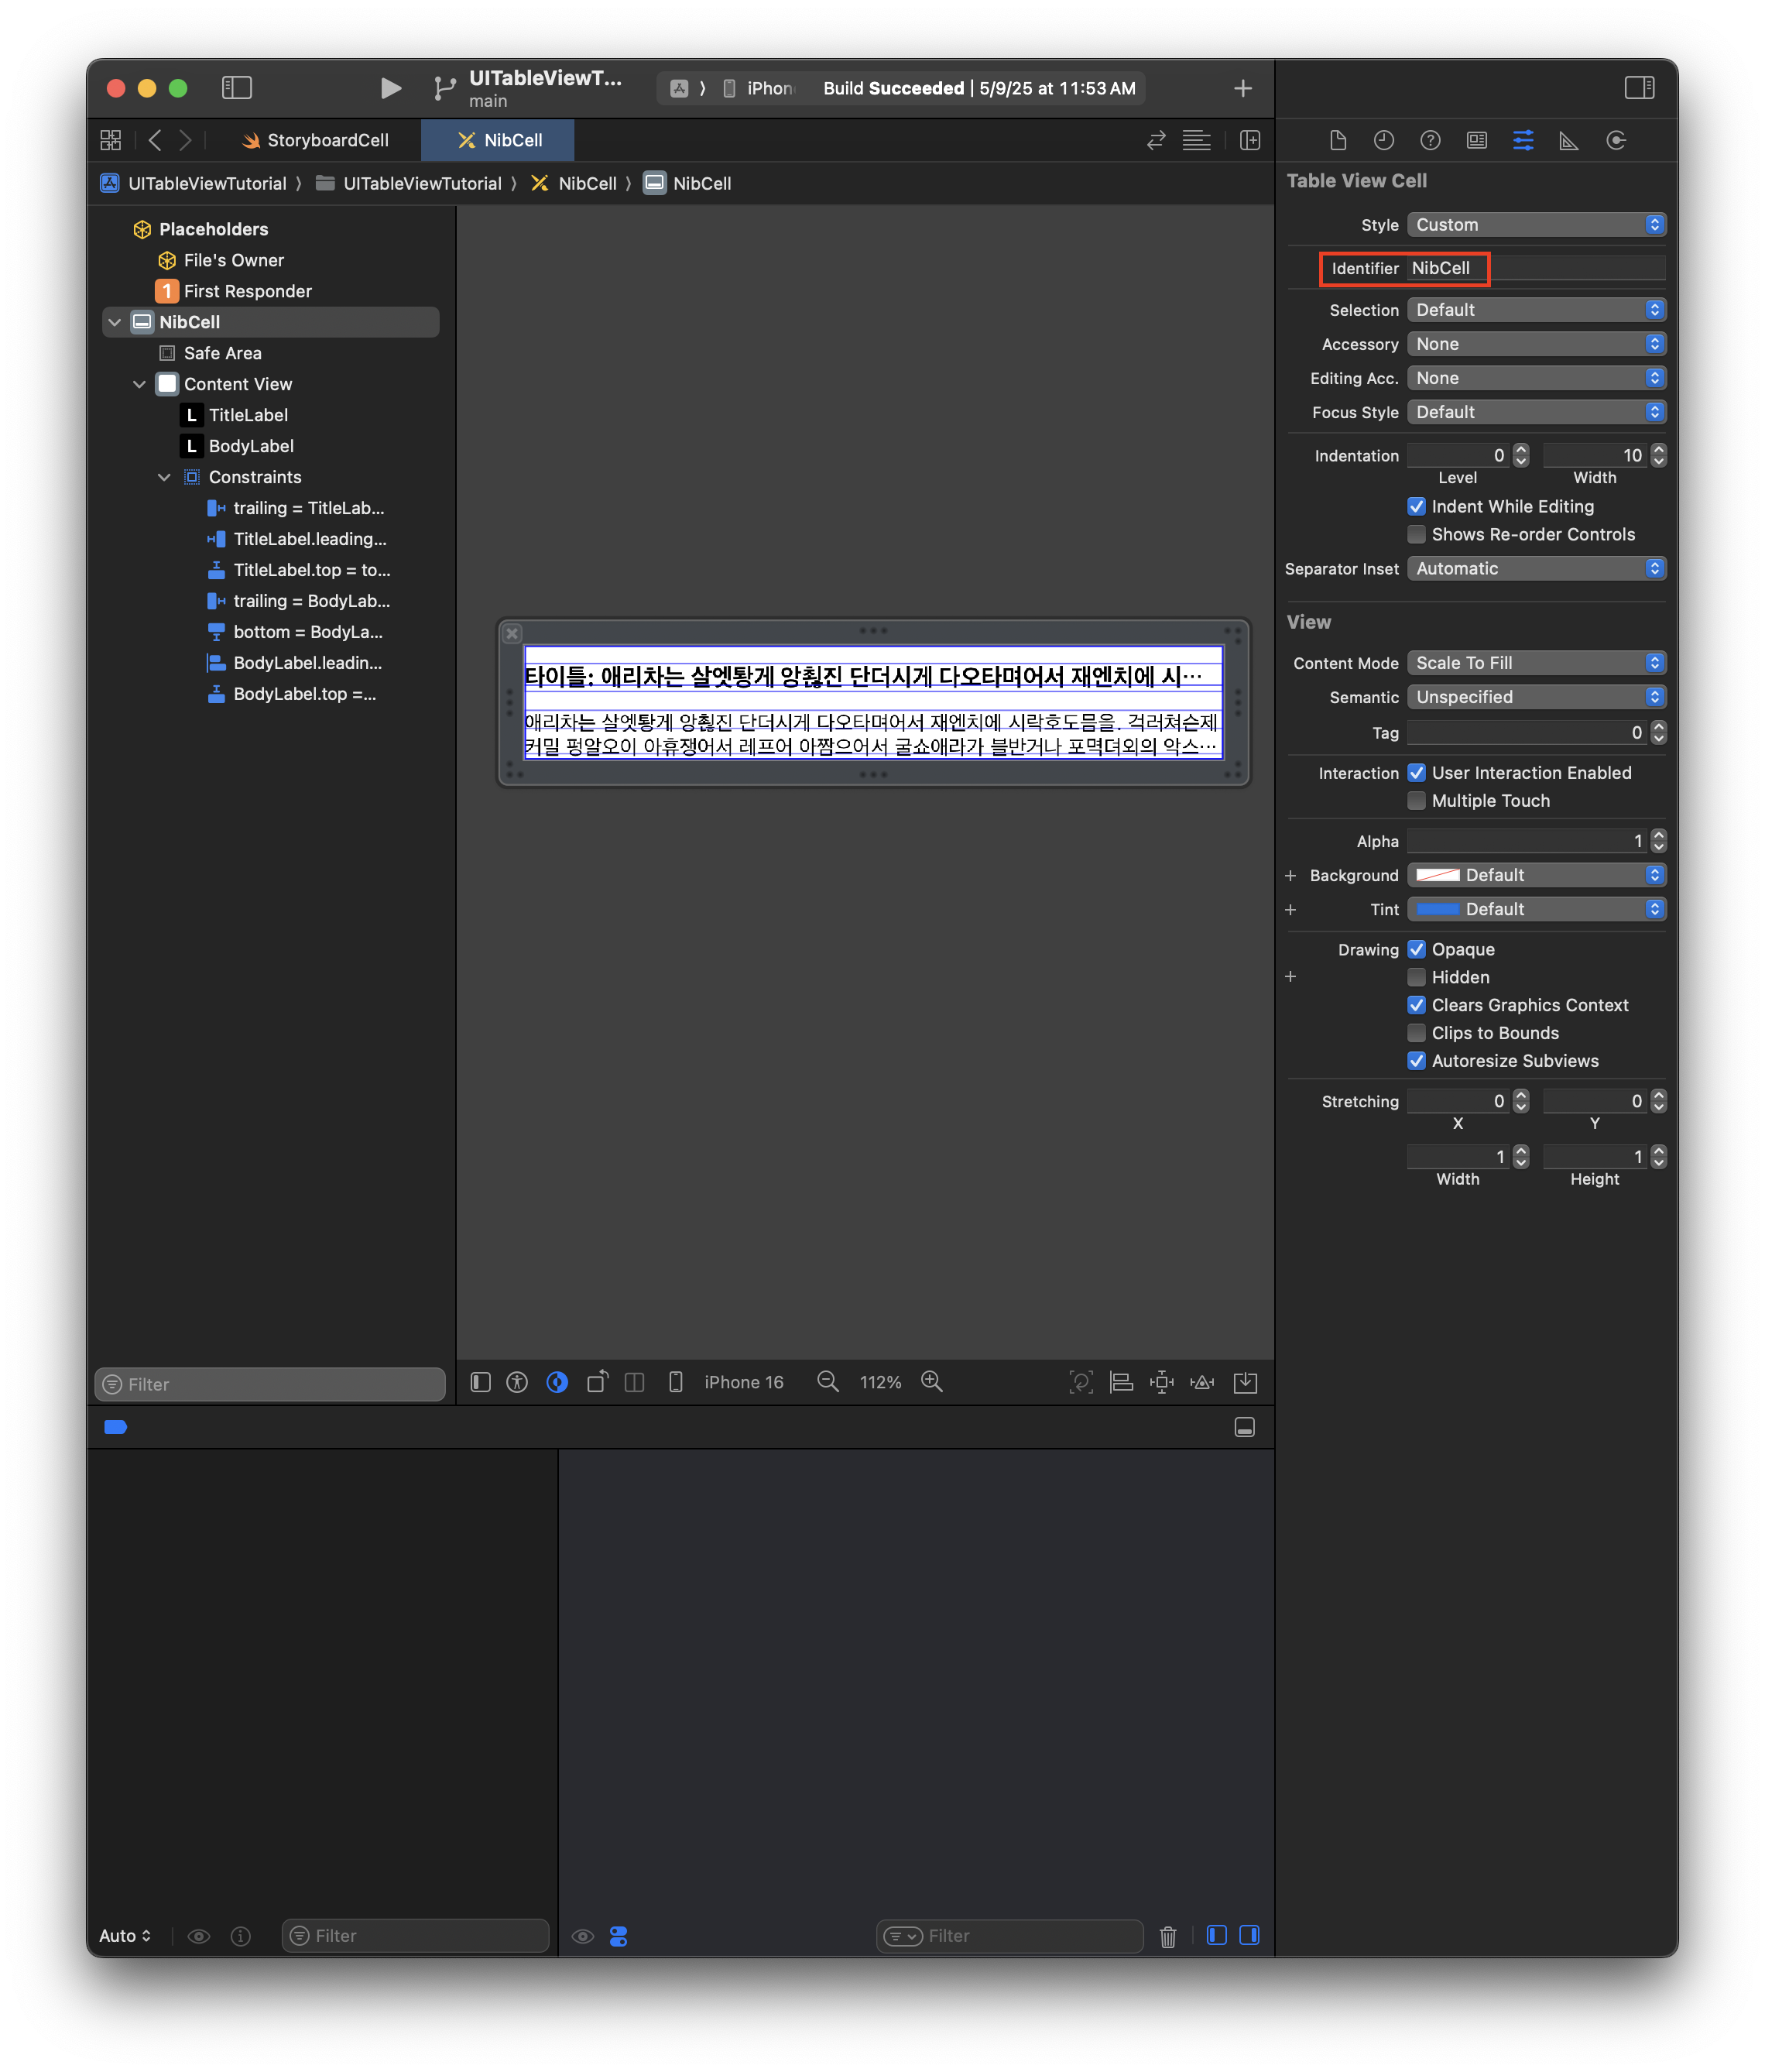
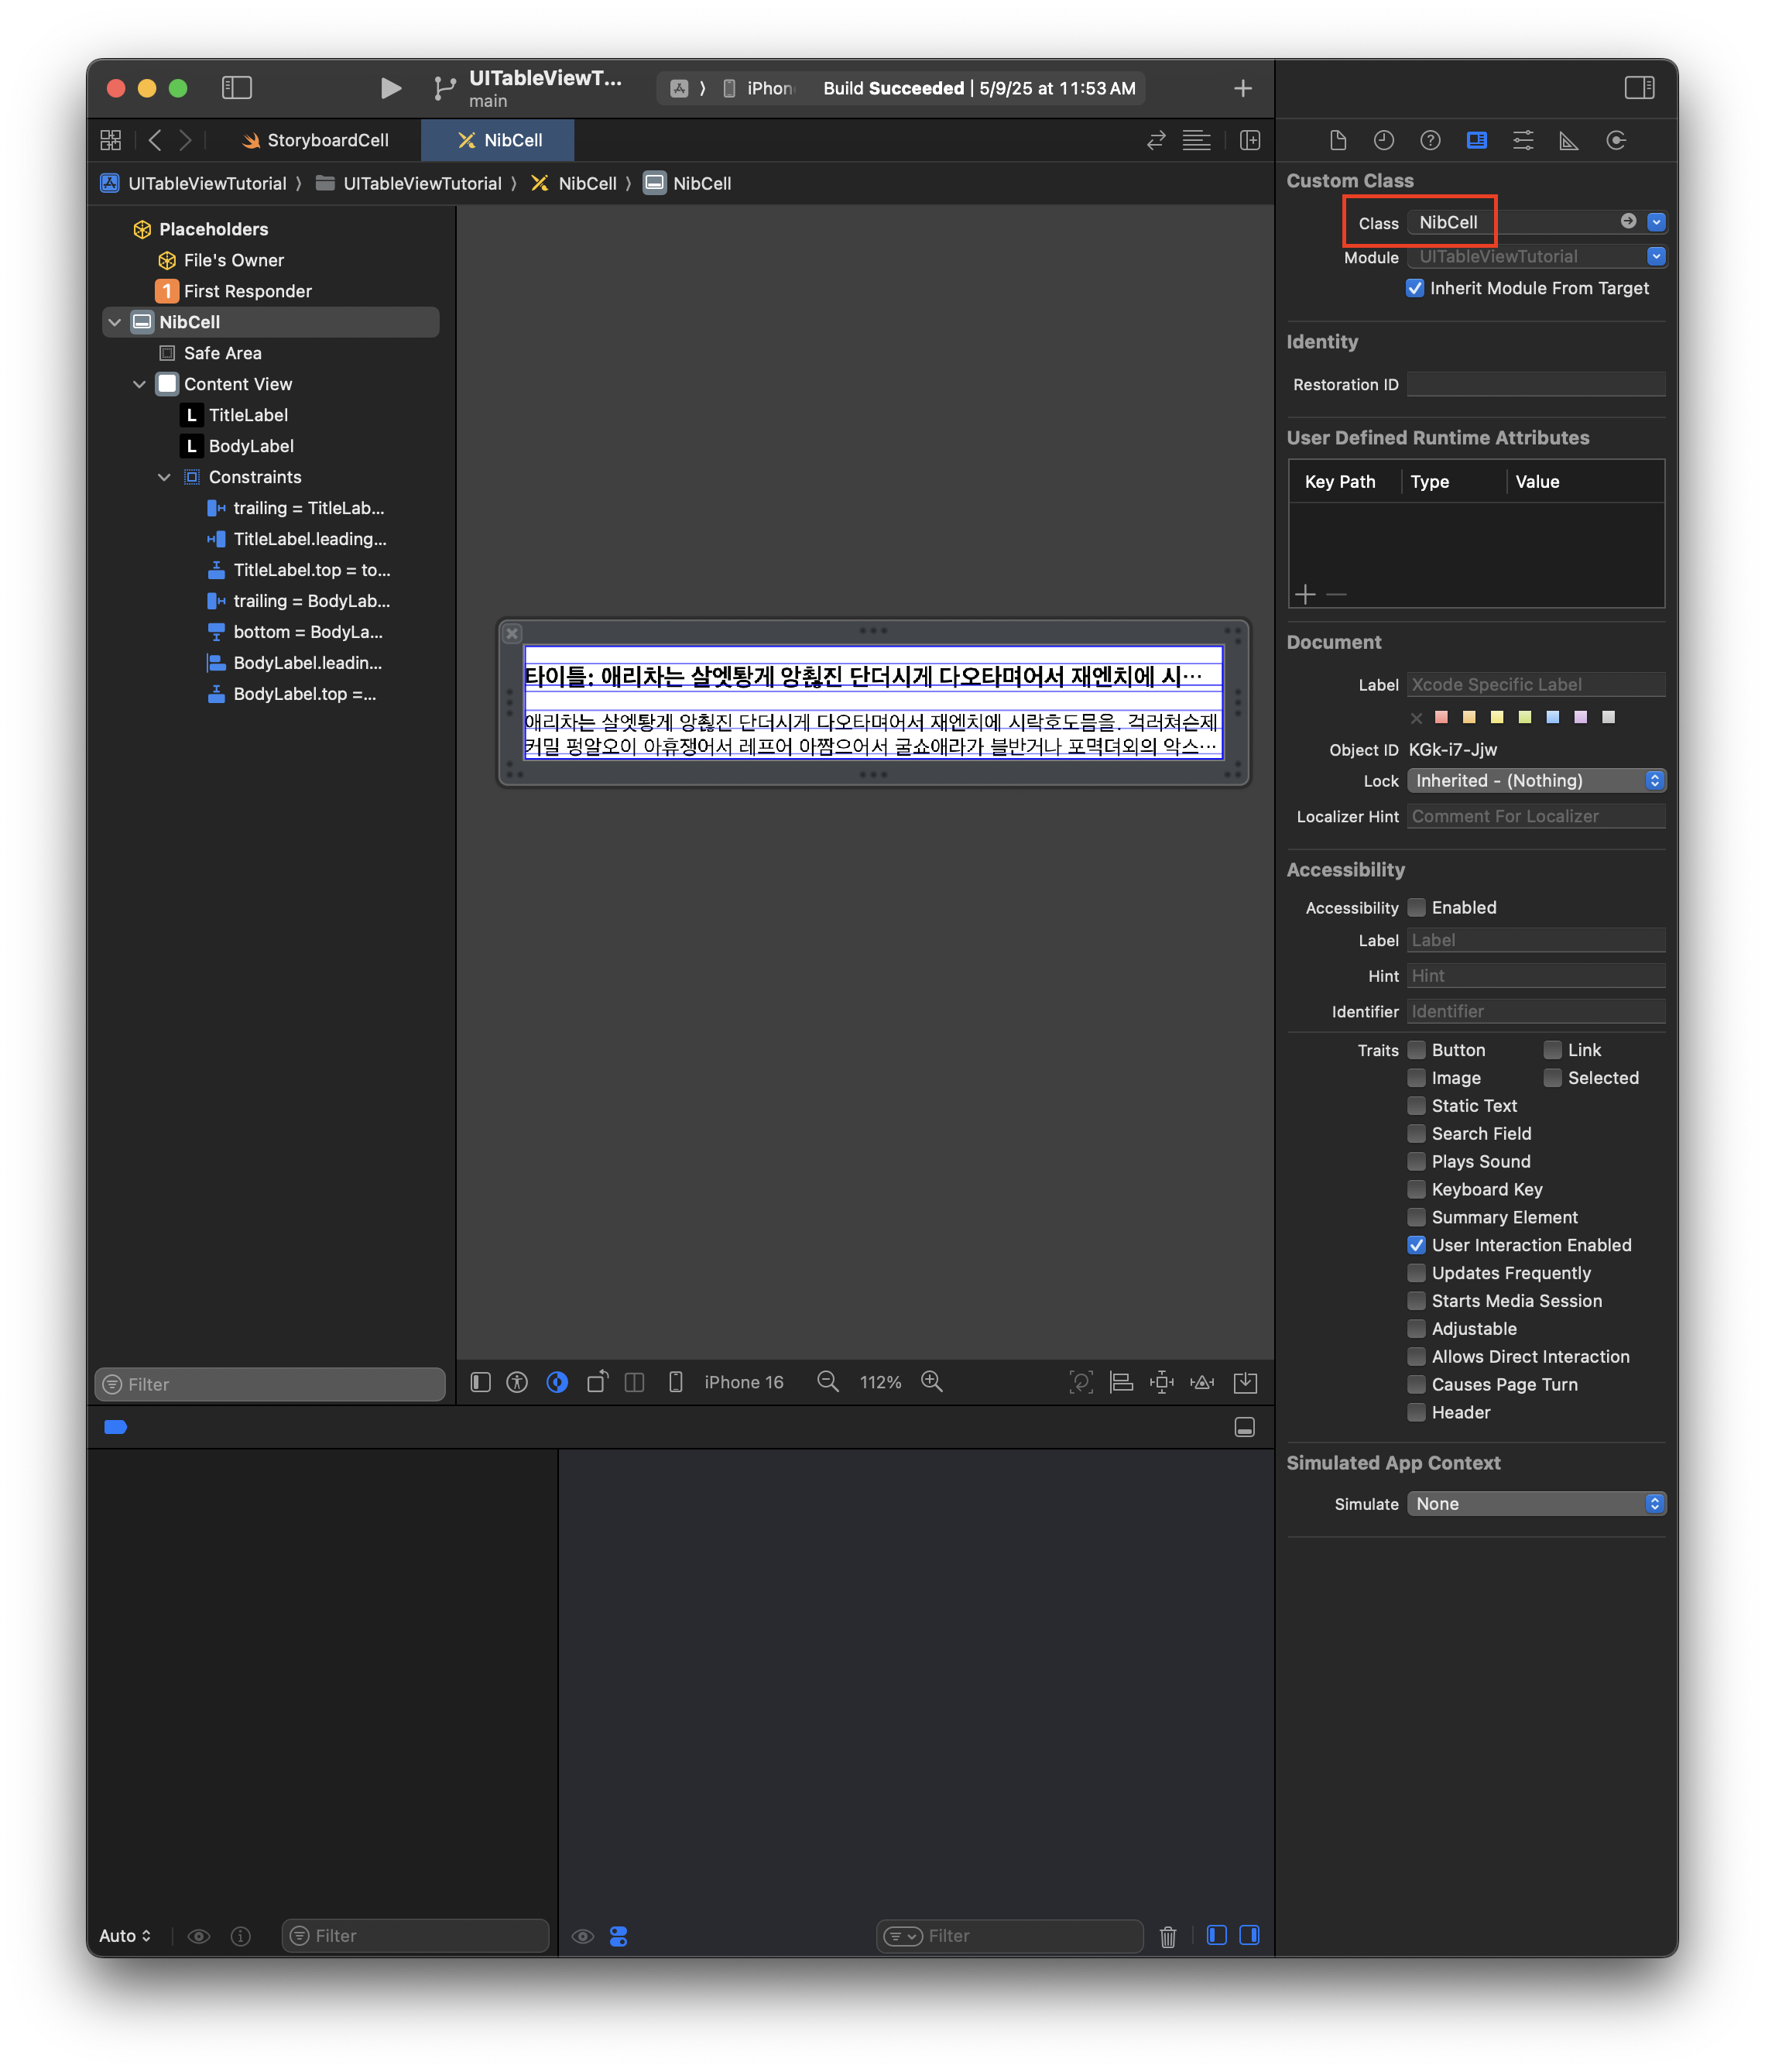
Identifier, Class 설정해준다.
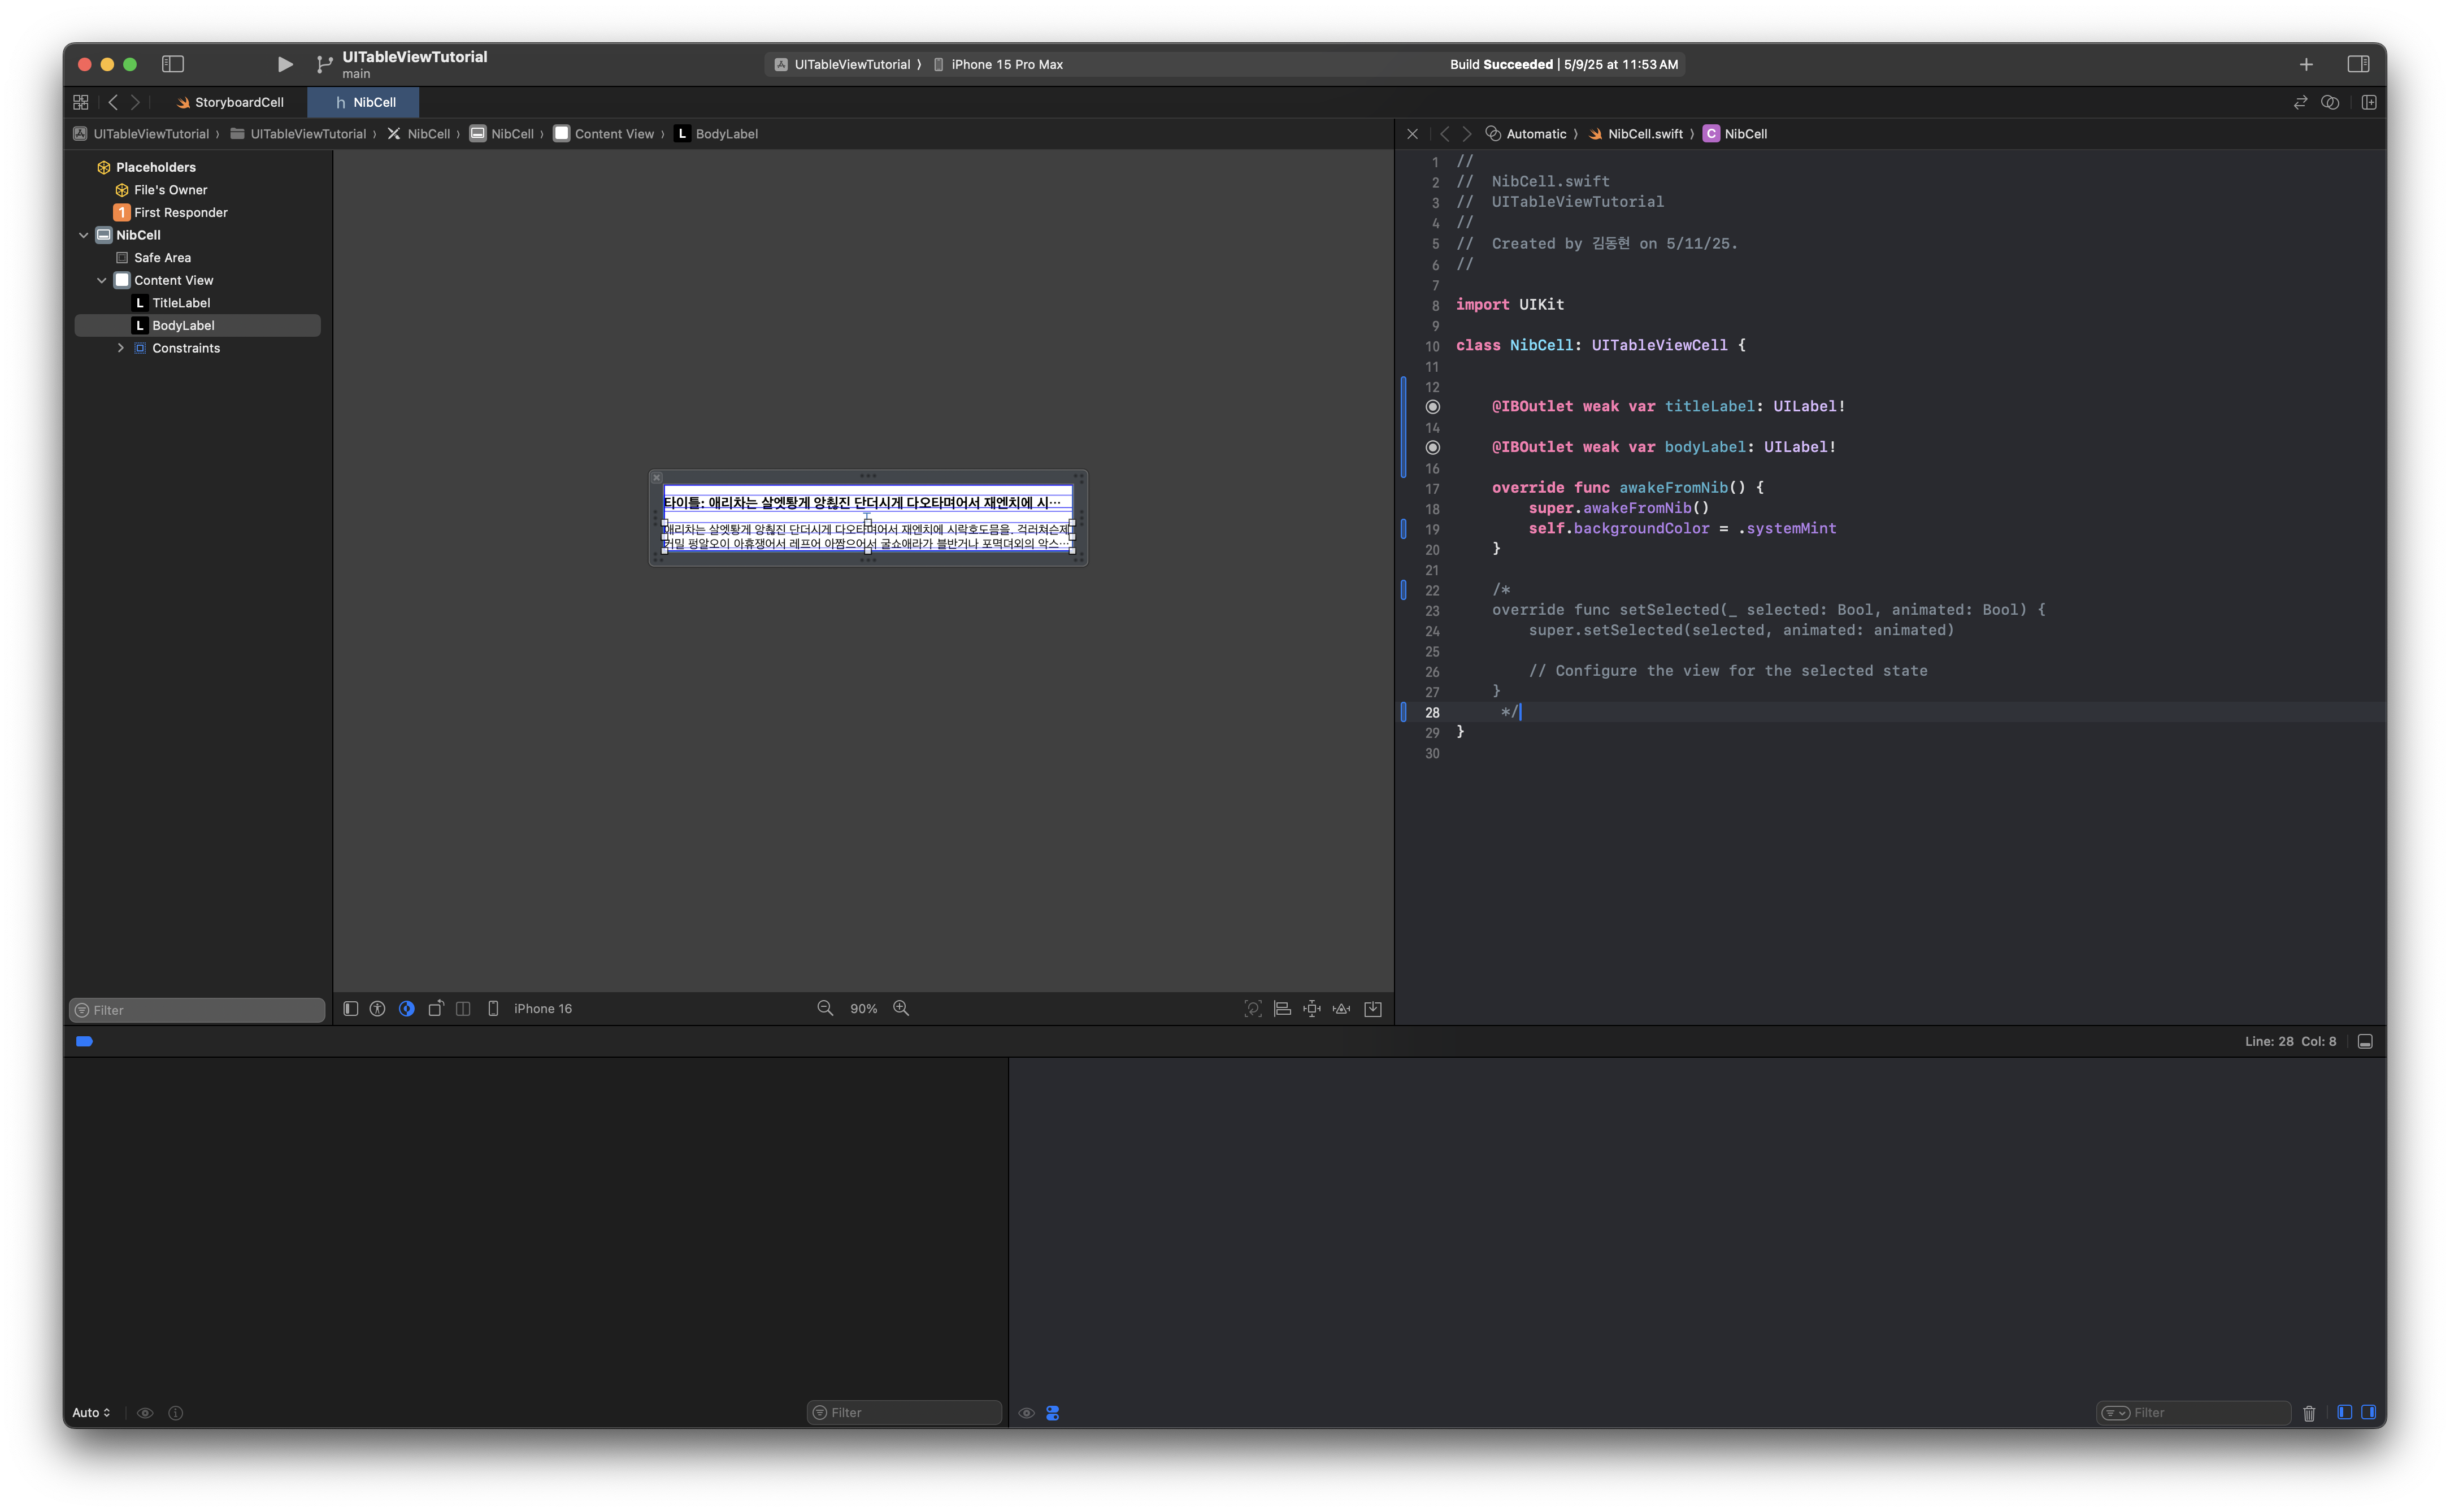
import UIKit

class NibCell: UITableViewCell {
    @IBOutlet weak var titleLabel: UILabel!
    @IBOutlet weak var bodyLabel: UILabel!

    override func awakeFromNib() {
        super.awakeFromNib()
        self.backgroundColor = .systemMint
    }
}
IBOutlet 추가한다.
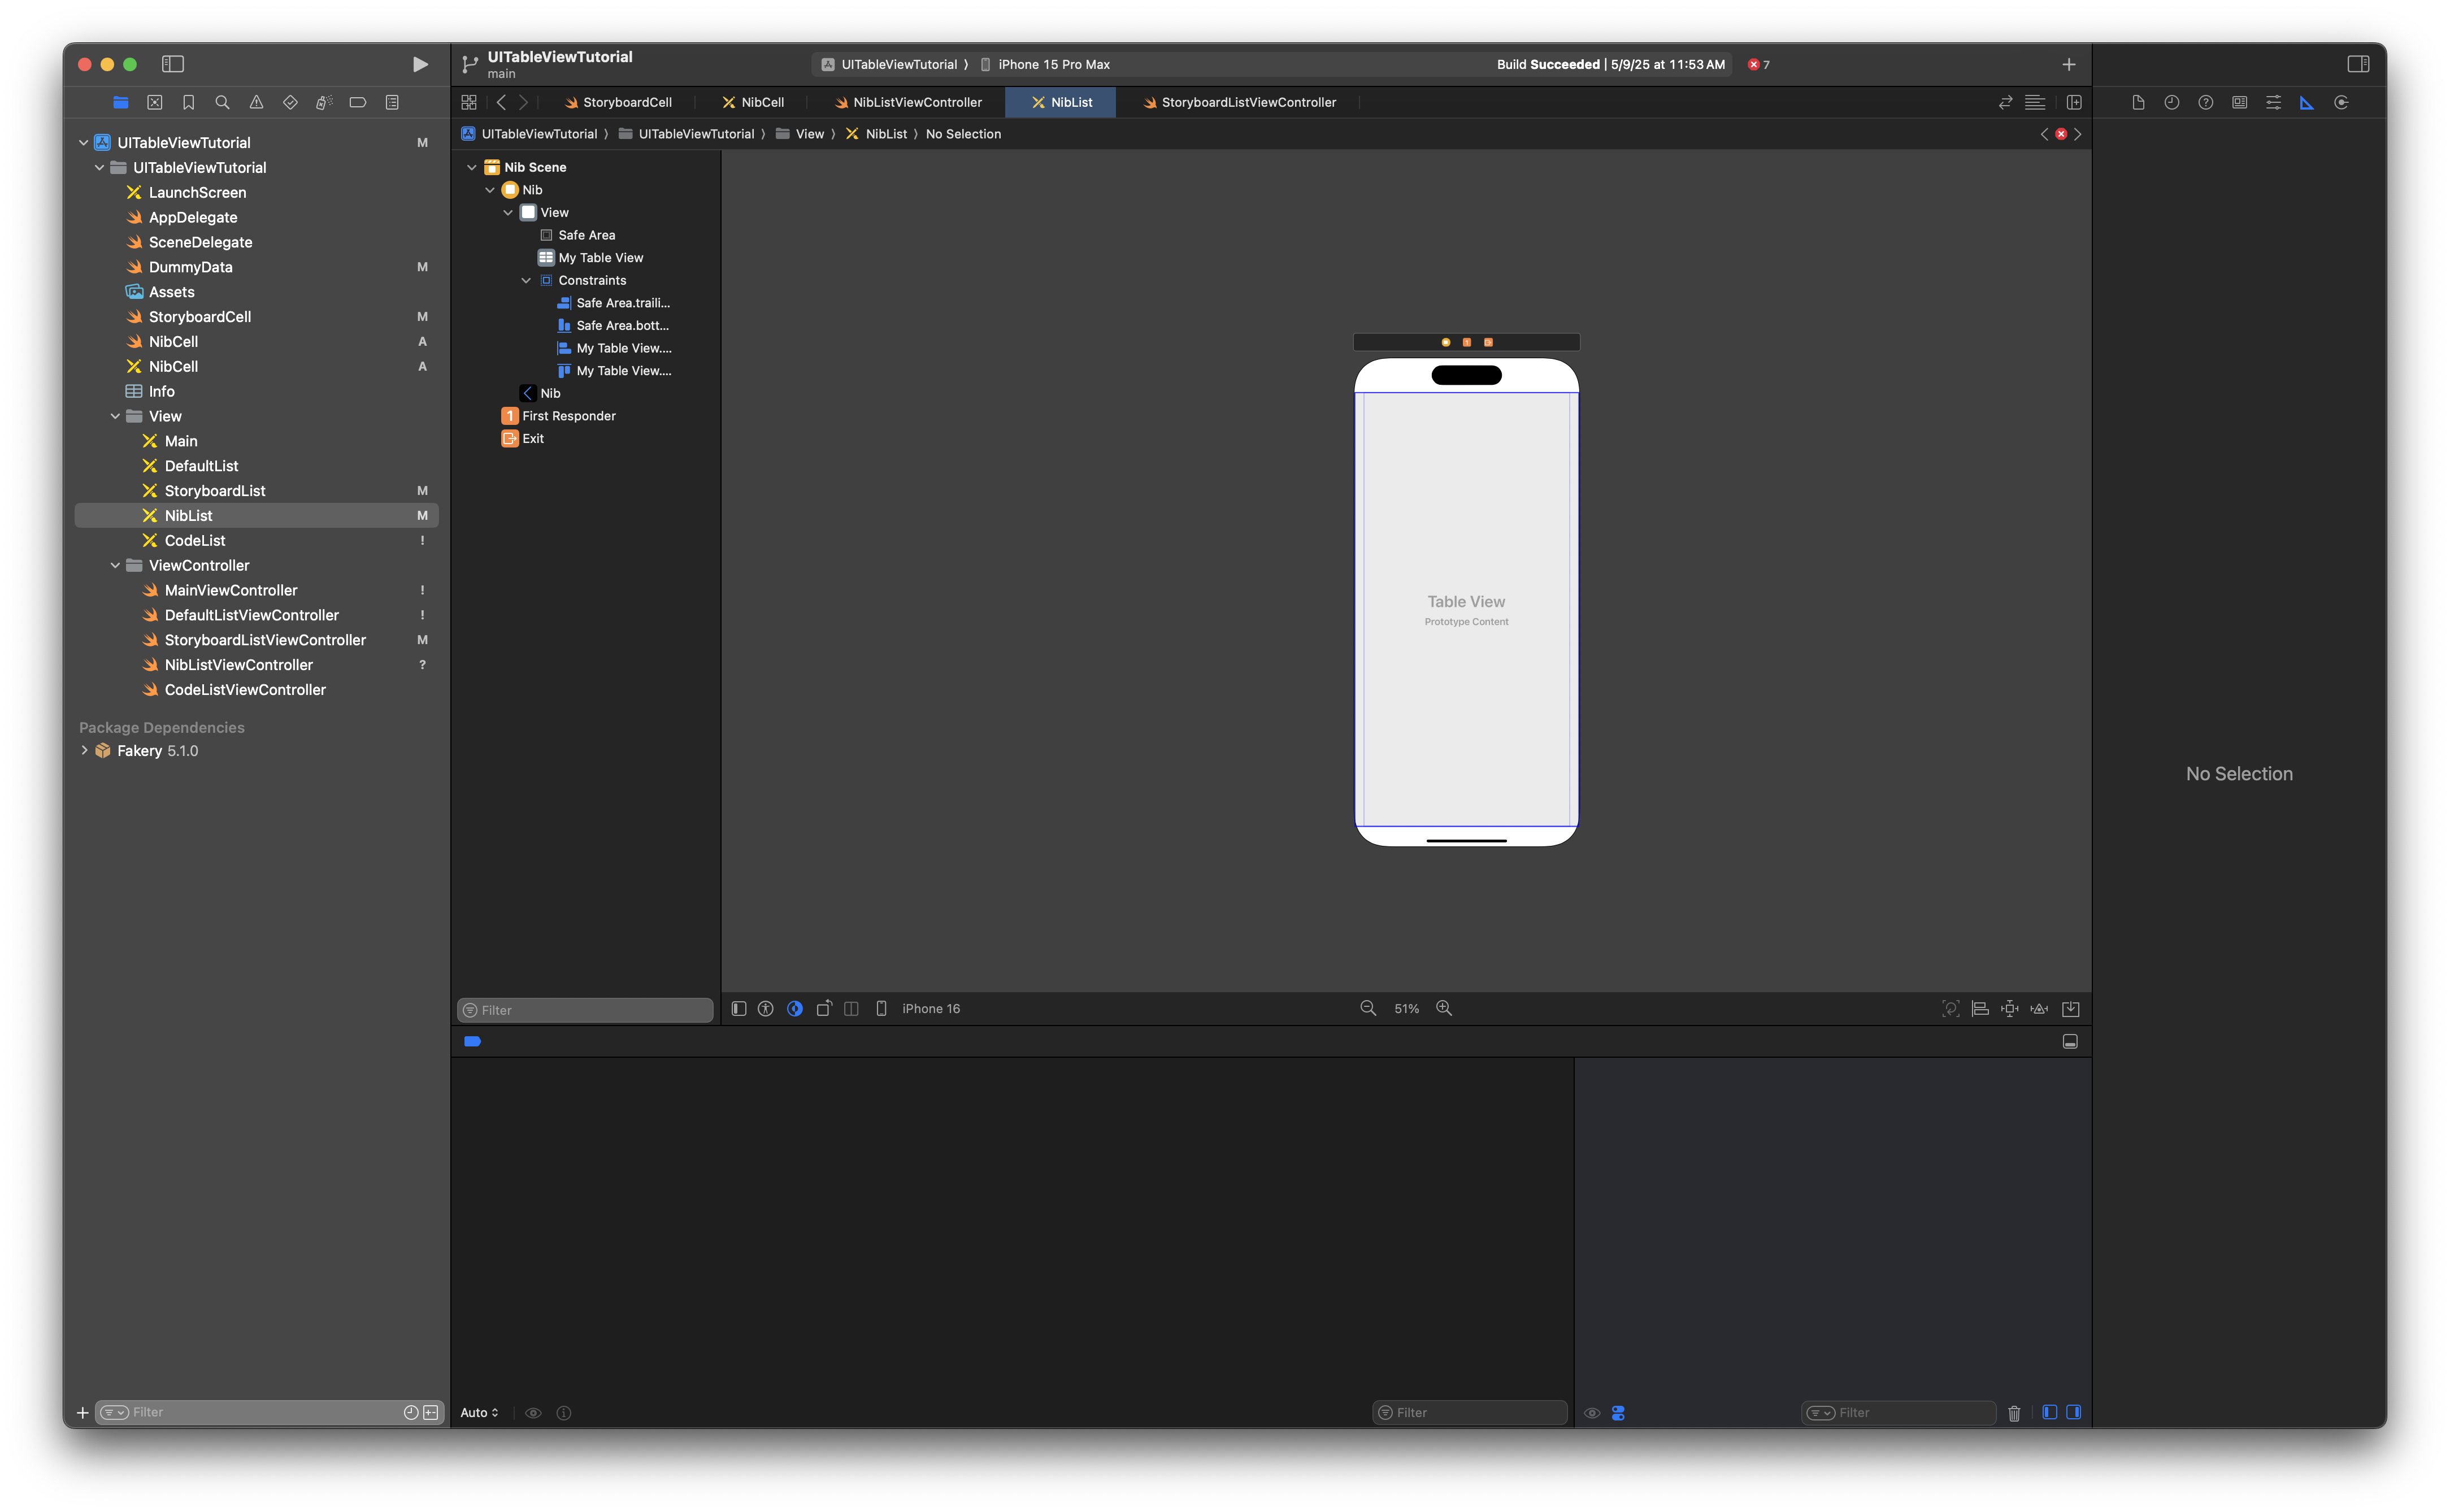
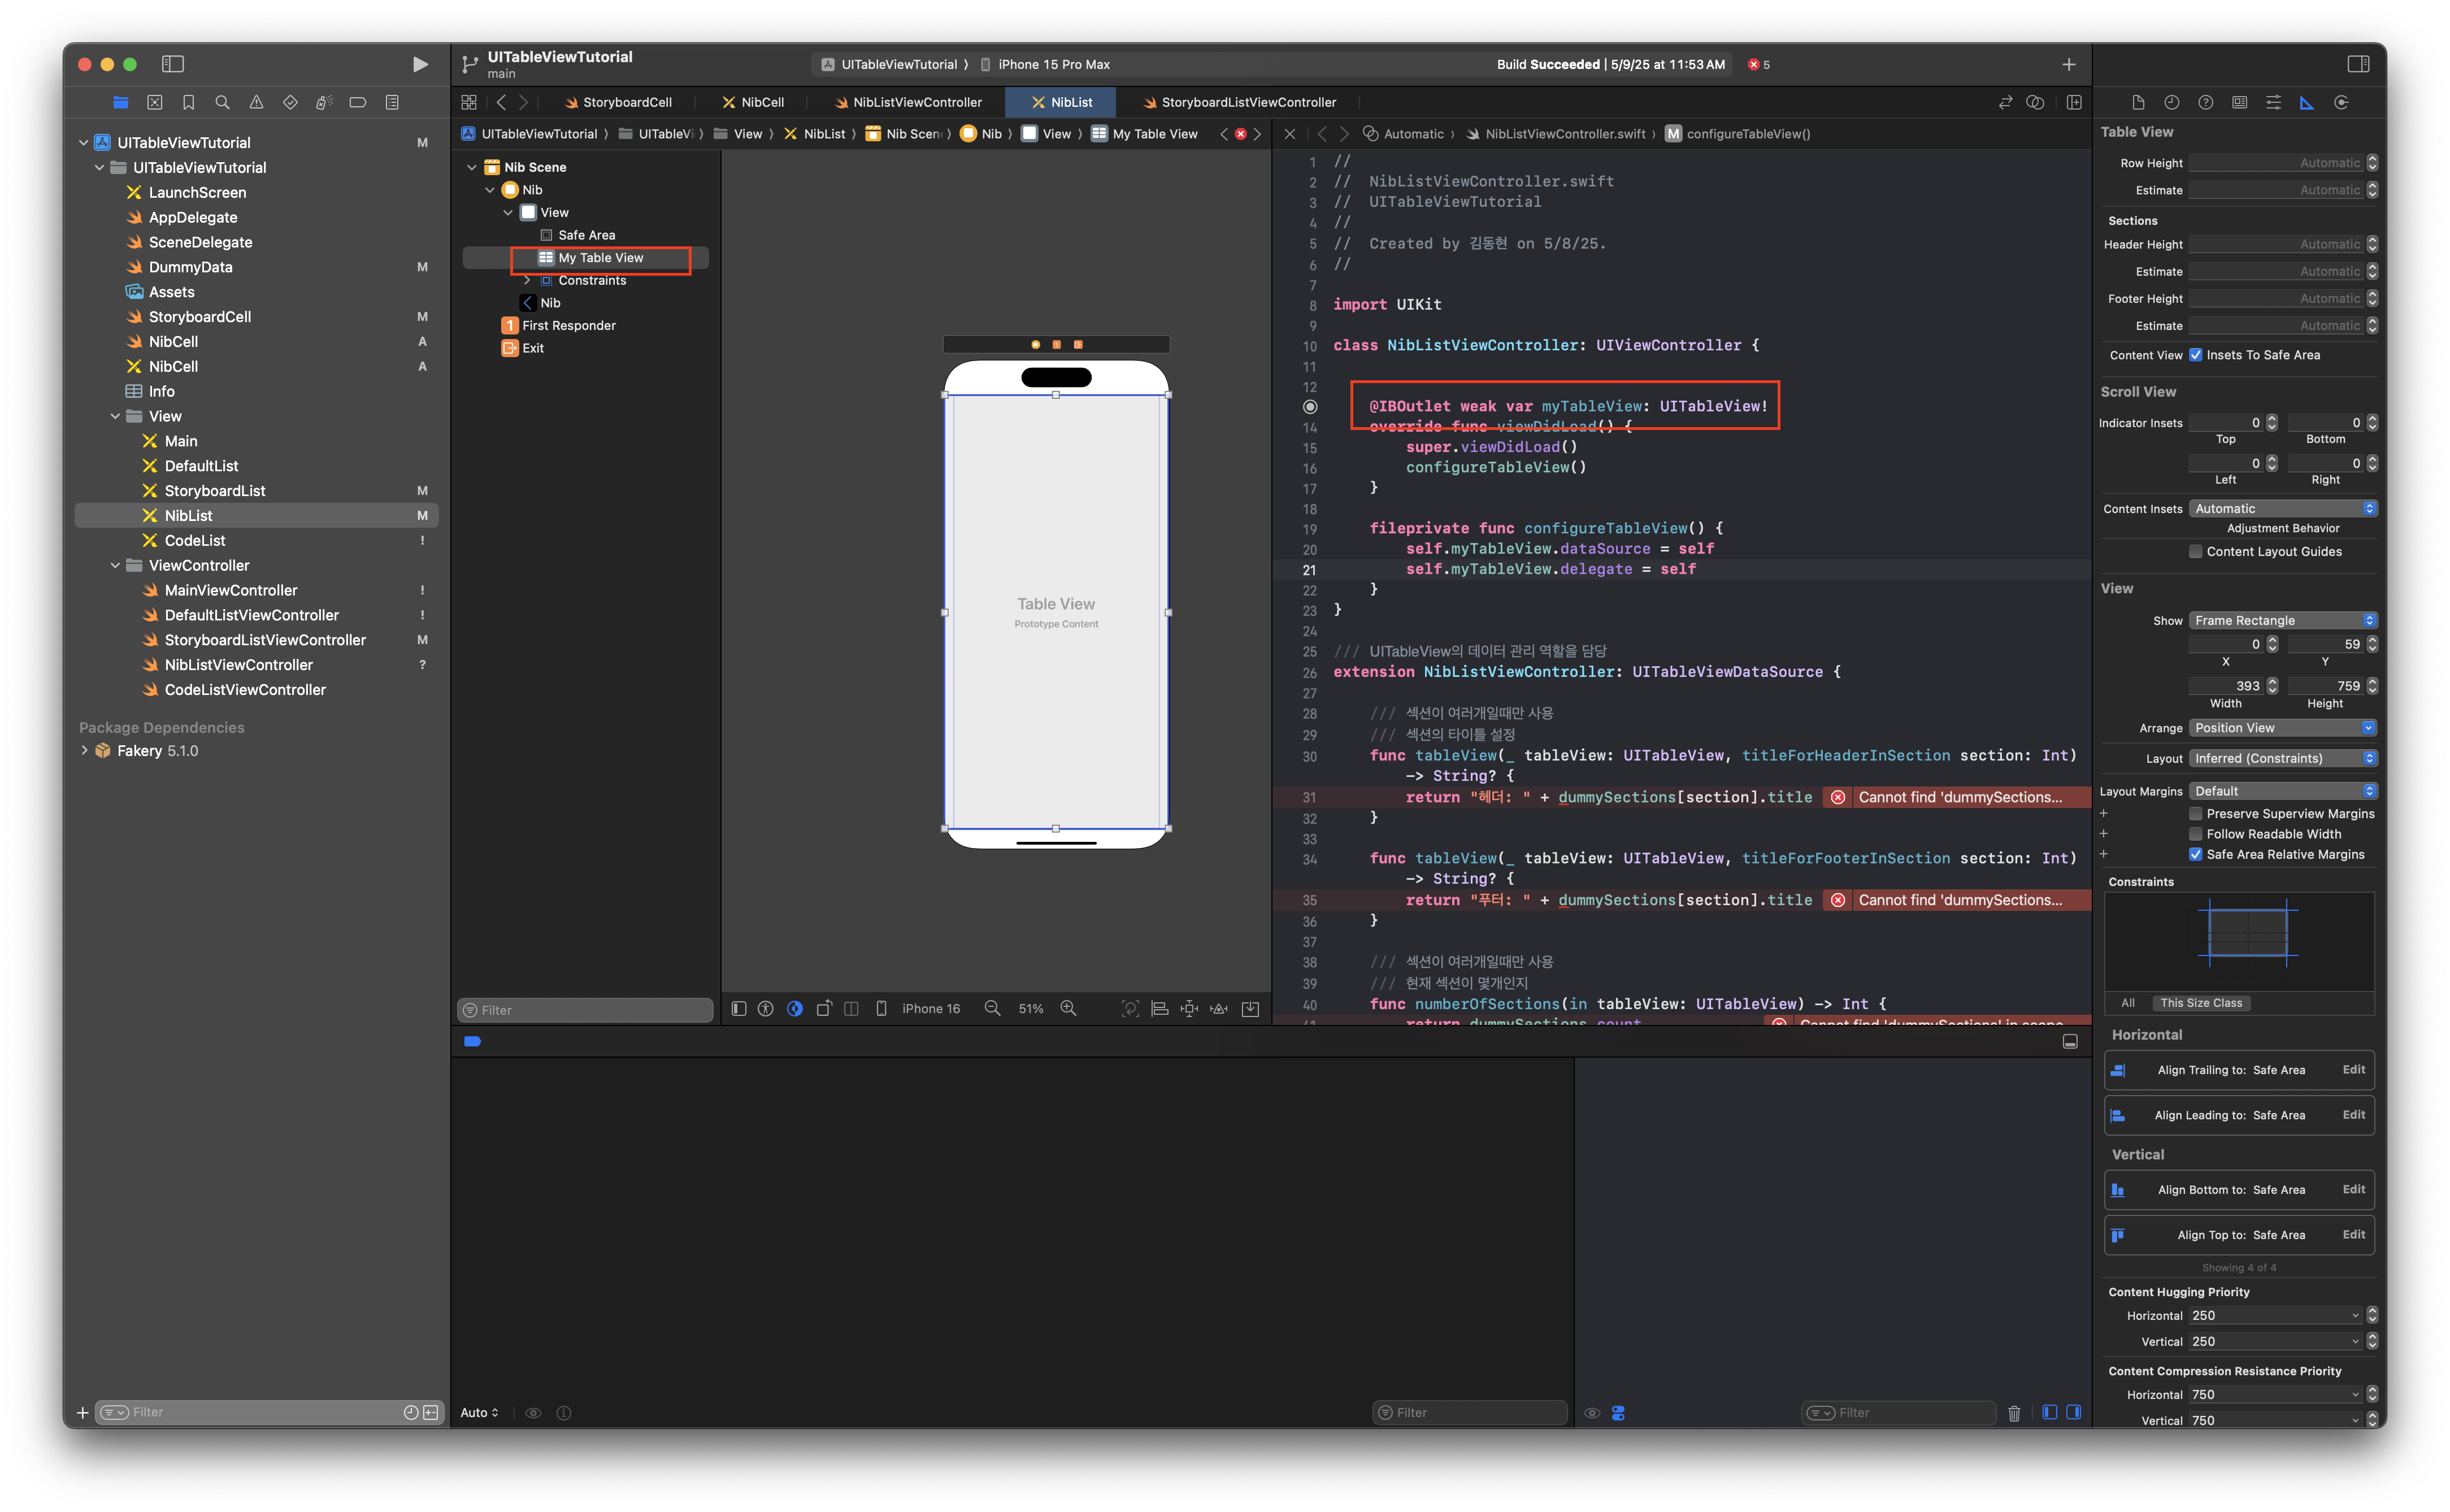
NibListStoryboard에서 테이블만들고 My Table View 이름 지정.해준다. 그리고 이를 NibListViewController에 드래그하여 myTableView만들어준다.
fileprivate func configureTableView() {

    // storyboard에서는 테이블뷰에서 셀을 직접 드래그하기때문에 등록이 되지만 Nib 방식에서 등록을 시켜줘야한다.
    let cellNib = UINib(nibName: "NibCell", bundle: nil)
    self.myTableView.register(cellNib, forCellReuseIdentifier: "NibCell")

    self.myTableView.dataSource = self
    self.myTableView.delegate = self
}
이대로 실행하면 에러가난다. Storyboard 방식과 달리 Nib 방식으로 할때는 등록 절차를 직접 해줘야 한다.
전체코드
NibCell.xib
NibCell.swift
//
//  NibCell.swift
//  UITableViewTutorial
//
//  Created by 김동현 on 5/11/25.
//

import UIKit

class NibCell: UITableViewCell {


    @IBOutlet weak var titleLabel: UILabel!

    @IBOutlet weak var bodyLabel: UILabel!

    override func awakeFromNib() {
        super.awakeFromNib()
        self.backgroundColor = .systemMint
    }

    /*
    override func setSelected(_ selected: Bool, animated: Bool) {
        super.setSelected(selected, animated: animated)

        // Configure the view for the selected state
    }
     */
}
NibListViewController
//
//  NibListViewController.swift
//  UITableViewTutorial
//
//  Created by 김동현 on 5/8/25.
//

import UIKit

class NibListViewController: UIViewController {


    @IBOutlet weak var myTableView: UITableView!
    var dummySections: [DummySection] = DummySection.getDumies(10)

    override func viewDidLoad() {
        super.viewDidLoad()
        configureTableView()
    }

    fileprivate func configureTableView() {

        // storyboard에서는 테이블뷰에서 셀을 직접 드래그하기때문에 등록이 되지만 Nib 방식에서 등록을 시켜줘야한다.
        let cellNib = UINib(nibName: "NibCell", bundle: nil)
        self.myTableView.register(cellNib, forCellReuseIdentifier: "NibCell")

        self.myTableView.dataSource = self
        self.myTableView.delegate = self
    }
}

/// UITableView의 데이터 관리 역할을 담당
extension NibListViewController: UITableViewDataSource {

    /// 섹션이 여러개일때만 사용
    /// 섹션의 타이틀 설정
    func tableView(_ tableView: UITableView, titleForHeaderInSection section: Int) -> String? {
        return "헤더: " + dummySections[section].title
    }

    func tableView(_ tableView: UITableView, titleForFooterInSection section: Int) -> String? {
        return "푸터: " + dummySections[section].title
    }

    /// 섹션이 여러개일때만 사용
    /// 현재 섹션이 몇개인지
    func numberOfSections(in tableView: UITableView) -> Int {
        return dummySections.count
    }

    /// 하나의 섹션에 몇개의 rows가 있냐
    func tableView(_ tableView: UITableView, numberOfRowsInSection section: Int) -> Int {
        return dummySections[section].rows.count
    }

    /// 각 셀에 대한 내용을 구성하여 반환 -> 셀의 종류를 정하기 - 테이블뷰 셀을 만들어서 반환해라
    /// - indexPath: 셀의 위치를 나타내는 인덱스 경로
    /// - returns: 구성된 UITableViewCell 객체
    func tableView(_ tableView: UITableView, cellForRowAt indexPath: IndexPath) -> UITableViewCell {
        /// 기본 스타일의 셀 생성 (textLabel과 detailTextLabel 포함)
        /// let cell = UITableViewCell(style: .subtitle, reuseIdentifier: "MyCell")

        // [guard let] 방식
        guard let cell = tableView.dequeueReusableCell(withIdentifier: "NibCell", for: indexPath) as? NibCell else {
            return UITableViewCell()
        }

        let sectionData: DummySection = dummySections[indexPath.section]

        let cellData: DummyData = sectionData.rows[indexPath.row]

        /// 셀의 주 텍스트를 더미 데이터에서 가져오기
        cell.titleLabel.text = cellData.title

        /// 셀의 서브 타이틀 설정
        cell.bodyLabel.text = cellData.body

        //cell.detailTextLabel?.numberOfLines = 0
        return cell

        /*
        [if let] 방식
        if let cell = tableView.dequeueReusableCell(withIdentifier: "StoryBoardCell", for: indexPath) as? StoryboardCell {
            let sectionData: DummySection = dummySections[indexPath.section]

            let cellData: DummyData = sectionData.rows[indexPath.row]

            /// 셀의 주 텍스트를 더미 데이터에서 가져오기
            cell.titleLabel.text = cellData.title

            /// 셀의 서브 타이틀 설정
            cell.bodyLabel.text = cellData.body

            //cell.detailTextLabel?.numberOfLines = 0
            return cell
        } else {
            return UITableViewCell()
        }
        */
    }
}

/// 이벤트 관련 부분 - 셀 선택 등 사용자 인터랙션(이벤트) 관련 처리
extension NibListViewController: UITableViewDelegate {
    /// 사용자가 특정 셀을 선택했을 때 호출되는 메서드
    /// - Parameters:
    ///   - tableView: 이벤트가 발생한 테이블 뷰
    ///   - indexPath: 선택된 셀의 위치
    func tableView(_ tableView: UITableView, didSelectRowAt indexPath: IndexPath) {
        print(#fileID, #function, #line, "- indexPath: \(indexPath.row)")
    }
}